How to Install OpenClaw: Setup Guide
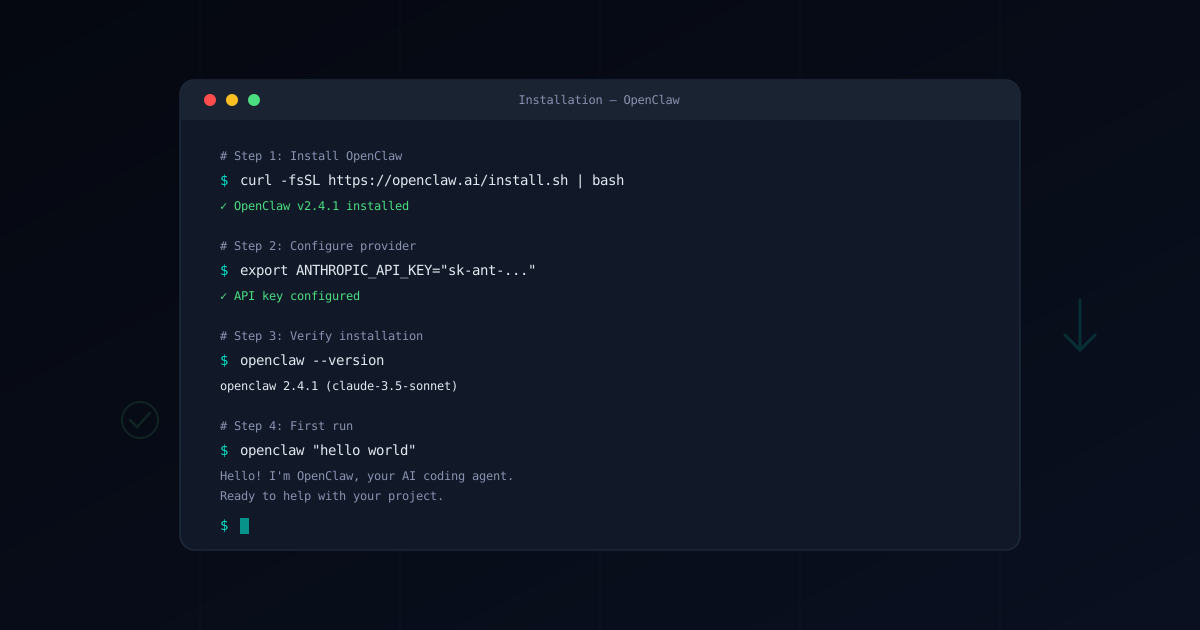
This guide walks you through installing OpenClaw on any platform, configuring your model provider, and running your first task — with security best practices at every step.
OpenClaw Installation Requirements
Before installing OpenClaw, make sure you have:
- Node.js 22 or later — OpenClaw requires a modern Node.js runtime
- Git — For version control integration
- A model provider — Either an API key (Anthropic, OpenAI, etc.) or Ollama for local models
Check your Node.js version:
node --version
# Should output v22.x.x or higher
Install OpenClaw in One Command
The fastest way to install OpenClaw:
# Recommended installer
curl -fsSL https://openclaw.ai/install.sh | bash

# Alternative: global install
npm install -g openclaw@latest
# or: pnpm add -g openclaw@latest
Verify the installation:
openclaw --versionPlatform-Specific Instructions
macOS
Recommended (installer):
curl -fsSL https://openclaw.ai/install.sh | bashAlternative (npm):
npm install -g openclaw@latestVerify:
which openclaw
# /usr/local/bin/openclaw

openclaw --version
Troubleshooting macOS:
- If you get a Gatekeeper warning, run
xattr -d com.apple.quarantine $(which openclaw) - On Apple Silicon (M1/M2/M3), Homebrew installs to
/opt/homebrew/bin/— make sure it’s in your$PATH
Linux
Ubuntu / Debian:
# Install Node.js 22+ if not present
curl -fsSL https://deb.nodesource.com/setup_22.x | sudo -E bash -
sudo apt-get install -y nodejs

# Install OpenClaw
curl -fsSL https://openclaw.ai/install.sh | bash
# or: npm install -g openclaw@latest
Arch Linux:
# Recommended installer
curl -fsSL https://openclaw.ai/install.sh | bash
Manual install (any distro):
curl -fsSL https://openclaw.ai/install.sh | bashVerify:
openclaw --versionWindows (via WSL)
OpenClaw runs on Windows through WSL2 (Windows Subsystem for Linux):
- Install WSL2:
wsl --install-
Open your WSL terminal and follow the Linux instructions above.
-
Verify:
openclaw --versionWSL2 provides a full Linux environment. All OpenClaw features, including Docker sandbox mode, work natively inside WSL.
First-Run Configuration
Choose Your Model Provider
OpenClaw supports multiple AI model providers. Set one up before your first run.
Anthropic (Claude) — Recommended for coding:
export ANTHROPIC_API_KEY="sk-ant-api03-..."OpenAI (GPT-4):
export OPENAI_API_KEY="sk-..."Ollama (local models — no API key needed):
# Install Ollama first
curl -fsSL https://ollama.com/install.sh | sh

# Pull a coding model
ollama pull codellama:34b
For a complete Ollama setup, see our Ollama Guide.
OpenRouter (100+ models):
export OPENROUTER_API_KEY="sk-or-..."Persist Your API Key
Add the export to your shell profile so it persists across sessions:
# For bash
echo 'export ANTHROPIC_API_KEY="sk-ant-..."' >> ~/.bashrc

# For zsh (macOS default)
echo 'export ANTHROPIC_API_KEY="sk-ant-..."' >> ~/.zshrc
Security note: Storing API keys in shell profiles is convenient but exposes them to any process running as your user. For production environments, use a secrets manager. See our Credential Protection Guide.
Run Your First Task
# Navigate to a project directory
cd ~/my-project

# Run OpenClaw
openclaw "explain the structure of this project"
OpenClaw will analyze your project files and provide a detailed explanation. You should see output within a few seconds.
Interactive Mode
For ongoing conversations:
openclawThis starts an interactive session where you can have a back-and-forth conversation with the AI about your codebase.
Configure the Gateway
The Gateway is optional but recommended for teams and advanced setups. It centralizes API key management, adds rate limiting, and enables provider switching.
# Start a local Gateway (foreground)
openclaw gateway --port 18789 --verbose

# Or manage it as a service (after onboarding):
openclaw gateway status
openclaw gateway restart
For complete Gateway configuration, see our Gateway Setup Guide.
Deploying on a VPS
Running OpenClaw on a remote server is useful for CI/CD pipelines, automated code review, and team deployments.
Minimum Requirements
| Resource | Minimum | Recommended |
|---|---|---|
| RAM | 2 GB | 4 GB |
| CPU | 1 vCPU | 2 vCPU |
| Storage | 10 GB | 20 GB |
| OS | Ubuntu 22.04+ | Ubuntu 24.04 |
Setup Steps
1. Provision a server on DigitalOcean, Hetzner, AWS EC2, or any VPS provider.
2. Install dependencies:
# Update system
sudo apt update && sudo apt upgrade -y

# Install Node.js 22
curl -fsSL https://deb.nodesource.com/setup_22.x | sudo -E bash -
sudo apt-get install -y nodejs

# Install OpenClaw
curl -fsSL https://openclaw.ai/install.sh | bash
# or: npm install -g openclaw@latest
3. Create a dedicated user (never run OpenClaw as root):
sudo useradd -m -s /bin/bash openclaw
sudo su - openclaw
4. Configure as a systemd service for automatic restarts:
# /etc/systemd/system/openclaw-gateway.service
[Unit]
Description=OpenClaw Gateway
After=network.target

[Service]
Type=simple
User=openclaw
WorkingDirectory=/home/openclaw
ExecStart=/usr/bin/openclaw gateway start
Restart=on-failure
RestartSec=5
Environment=ANTHROPIC_API_KEY=sk-ant-...

[Install]
WantedBy=multi-user.target
sudo systemctl enable openclaw-gateway
sudo systemctl start openclaw-gateway5. Set up firewall:
sudo ufw allow ssh
sudo ufw enable
# Only open additional ports if needed for the gateway
VPS Security Checklist
- Never run OpenClaw as root
- Use Sandbox Mode to isolate execution
- Protect credentials with environment variables, not config files — see Credential Protection
- Keep OpenClaw and Node.js updated
- Enable firewall and restrict network access
- Monitor logs for suspicious activity
Secure Installation Practices
Regardless of your platform, follow these security practices:
- Verify downloads — Always use official installation methods (npm, Homebrew, or the official curl script)
- Enable sandbox mode from day one — Don’t wait for a security incident. See Sandbox Setup
- Don’t install random skills — Only use skills from the Verified Skills catalog or verify them with our Skill Verifier
- Keep OpenClaw updated — Each release includes security patches
# Update via npm
npm install -g openclaw@latest

# Or rerun the installer
curl -fsSL https://openclaw.ai/install.sh | bash
Troubleshoot OpenClaw Installation
”command not found: openclaw”
Your shell can’t find the OpenClaw binary. Fix:
# Check where npm installs global packages
npm config get prefix

# Add to PATH if needed
export PATH="$(npm config get prefix)/bin:$PATH"
“ANTHROPIC_API_KEY not set”
OpenClaw can’t find your API key:
# Verify the key is set
echo $ANTHROPIC_API_KEY

# If empty, set it
export ANTHROPIC_API_KEY="sk-ant-..."
Permission Errors on Linux
# Fix npm global permissions (don't use sudo with npm)
mkdir -p ~/.npm-global
npm config set prefix '~/.npm-global'
echo 'export PATH=~/.npm-global/bin:$PATH' >> ~/.bashrc
source ~/.bashrc

# Reinstall
npm install -g openclaw@latest
Node.js Version Too Old
# Check version
node --version

# If below 22, install via nvm
curl -o- https://raw.githubusercontent.com/nvm-sh/nvm/v0.39.7/install.sh | bash
nvm install 22
nvm use 22
After Installing OpenClaw
Once OpenClaw is installed and running:
- Read our Security Guide to understand the threat landscape
- Set up Sandbox Mode for isolated execution
- Browse Verified Skills for security-audited extensions
- Configure the Gateway for provider management
- Try Ollama for fully private, local AI
- Run OpenClaw for free with Kimi K2.5, Qwen, and other free models